Using a Tripod
This is your biggest ally in taking quality timelapses. The heavier the tripod, the better, since you'll have a more still shot if there is any wind around. Granted, weight is the enemy of travel, so another idea is to have a light but sturdy tripod that has a hook that you can hang a backpack or something else on.
I've done plenty of timelapses on the edge of balconies or on top of large boulders, but never without being nervous the entire time. You never know when the wind will pick up or something unexpected will happen, like an animal or little kid messing with it. I met a Spanish film crew that was shooting in Malaysia that spent 2 hours chasing after a cheeky macaque monkey that ran off with some of their camera equipment they left unattended. They had to offer a few bananas in hopes of luring this macaque from a tree branch and make the trade. Fortunately for the film crew, the monkey was unaware of the going rate difference between professional camera gear and bananas on Ebay.
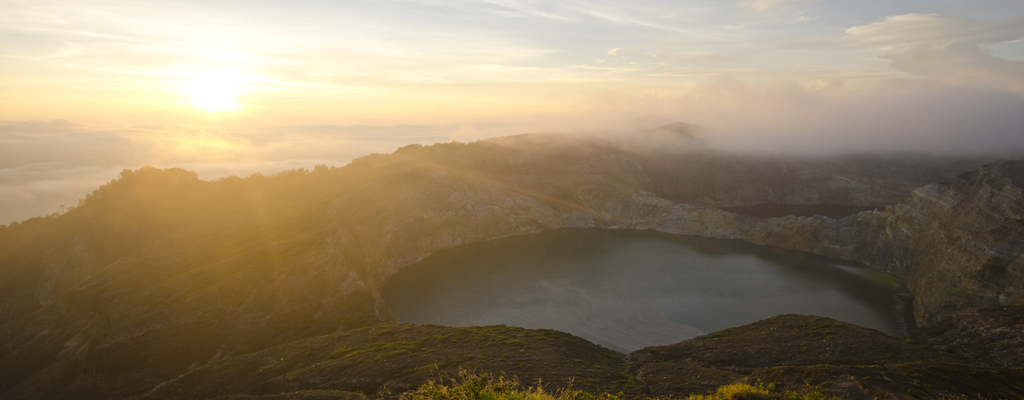
 Frame your shot to look interesting or symmetrical while considering where the movement will unfold.
Frame the Shot
This is a common mistake that a lot of people make while taking a timelapse. Crooked horizon lines, too much dead space, or any other poor framing will really impact the final result of a timelapse, regardless of how great the movement is. I would recommend setting the shot up as if you were going to just take a normal photo. If it is framed in such a way that would be interesting in a still picture, it'll also appear interesting in a timelapse video. Also, consider where all the action is taking place. You could set up an otherwise perfect shot, but if the movement is confined to the top corner of the frame, the end result is sure to disappoint.
 Star timelapses require a lower aperture setting and slow shutter speed.
Shoot in Manual
Shooting out of manual is a mistake that will ruin a lot of timelapses. This is especially the case for sunset or sunrise shots, but will mess up practically anything you shoot outdoors. The reason for this is that the lighting conditions often change over a longer period of time. For example, clouds will expose the sun momentarily and then cover it again. When you are shooting out of manual, your camera will automatically change some of the settings of either ISO, aperture or shutter speed. That is fine for any given single still shot, but not so much the case when you are creating a timelapse video. You'll basically end up with some really wanky looking videos, with random unnatural looking flickers of light or darkness throughout the video. Some amount of change in lighting is inevitable, but shooting in manual will help to reduce the intensity of those erratic changes.
Shooting in manual means that you'll have to adjust all of the settings accurately, which takes a lot of practice if you're new to photography. If you are shooting a sunrise or sundown, you'll also want to consider the changes of light that will be taking place over the full time length of your timelapse. For instance, whenever I set up for a sunrise timelapse, the first shot will initially look way too dark, but as the sun begins to rise, those settings will be perfect for catching the most important moment when the sunrise is at its peak.
Capturing Change with the Right Timing Interval
The power of a timelapse is in being able to catch movement and display it in a way that we normally wouldn't be able to with our eyes. That could be the quick pace of people and cars passing through city streets in just a couple minutes or the slow wilting of flowers over the course of several days. The movement you are trying to capture will normally dictate the frequency of shots you'll take when setting up your internal or external timing interval device.
If you are taking a shot that has both palm trees and distant patches of clouds in the frame, the period of time you set up between each shot will change what the viewer is going to focus on. Quicker intervals would draw attention to the palm leaves moving with the breeze. Slower intervals would rapidly blur the leaves and place the attention on the steady movement of the clouds in the background. It's therefore important to be thoughtful when setting up an interval timer in order to bring out the kind of movement you're looking for.
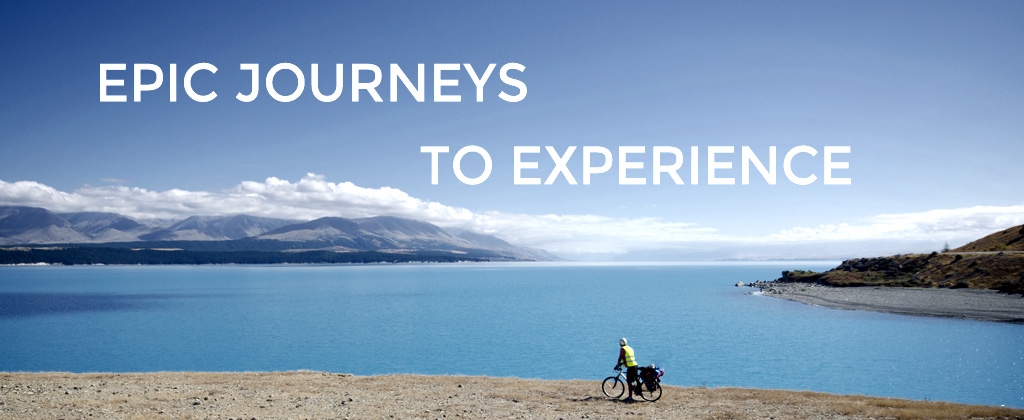
 Shorter intervals between shots will be necessary for timelapses capturing faster movement.
How to Post-process
Some devices like GoPros or phones come with available software that will produce timelapse videos. If you're shooting with a DSLR, you'll often be much more on your own in terms of figuring out how to convert all of those amazing shots into a timelapse video. There are a lot of free programs with 30 day trials online that you can download that are available to convert your picture files into a movie. If you are really into making videos I would recommend a program called Panolapse. Apart from the standard ability to transfer files into a video, this program allows for you to pan across the image or zoom in, as if you had a slider.
Managing Storage
One of the biggest challenges of shooting timelapses is dealing with all of the storage that hundreds of pictures take up on your card or device. This is especially the case if you're shooting with high megapixel settings or in RAW format. I usually like to keep a couple of spare SD cards in my bag solely for timelapses. This helps ensure that I don't run out of storage, but also makes it easier to organize files when I upload them to a computer.
Make sure to get an SD card or storage device that can transfer data quickly enough as to not interfere with the timing interval. Sometimes older SD cards won't be able to save the data in time before the camera is programmed to take the next shot. This will cause your timelapse video to jump forward from time to time, or your camera may stop taking shots altogether. Any SD card that you buy will have a rating and include how many MB per second it can transfer.
If you're having problems with your camera shutting off, pausing or having inaccurate timing, the problem could go beyond just the SD card you have. Some cameras have an inbuilt number of shots they can take in a row. This is especially the case when you are trying to shoot quick-burst shutter speeds.
Be Patient
Getting the perfect timelapse will most likely not happen on your first time trying. Especially when you are just starting out, be prepared to face the frustration, time, and practice needed until you finally get a timelapse that you're fully happy with.
Part of the reason why learning how to do timelapses is such a long process is that each step in the process is really time consuming. You could spend several hours waiting around until your camera is done with its preset interval. Then it'll take a couple more hours to transfer all the pictures and convert them into a single video. After all that, discovering that you didn't even have the right settings to begin with can be quite a letdown. But don't get discouraged; it happens to every photographer. When it comes to creating epic timelapses, learning things the hard way is just part of the process.